
Brass brings timeless elegance to our homes, transforming doorknobs, lighting, decorative accents, and even musical instruments into stunning focal points. But maintaining its shine takes a bit of care. Whether you’re refreshing your brass as part of spring cleaning or adding it to your regular upkeep, proper cleaning makes a noticeable—and rewarding—difference.
Why Cleaning Brass Matters
Neglected brass can develop tarnish—a dull, often greenish layer that obscures its natural shine. This not only diminishes its beauty but can also indicate the beginning of corrosion. Regular cleaning removes tarnish, protects against further damage, and lets the warm, rich glow of brass shine through.
The Brass Cleaning Challenge
The key challenge is choosing the right cleaning method for your particular brass piece. Different types of brass vary in durability, and the cleaning technique should match the metal’s resilience and the level of tarnish.
The good news? There are plenty of cleaning options. You can try simple DIY remedies using common household ingredients like vinegar or ketchup, or select specialized commercial brass cleaners designed for specific purposes.
Common Brass Household Items
Brass brings warmth and sophistication to many areas of your home, often showing up in surprising places:
-
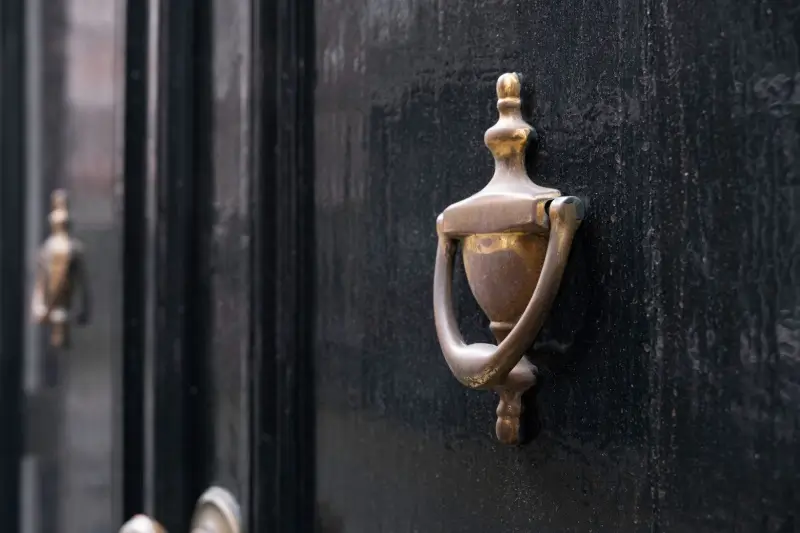
Door Hardware: Brass doorknobs, levers, knockers, and hinges add timeless elegance to both entryways and interior doors.
-
Cabinetry: Drawer pulls, handles, and hinges in brass can elevate kitchens, bathrooms, and storage furniture.
-
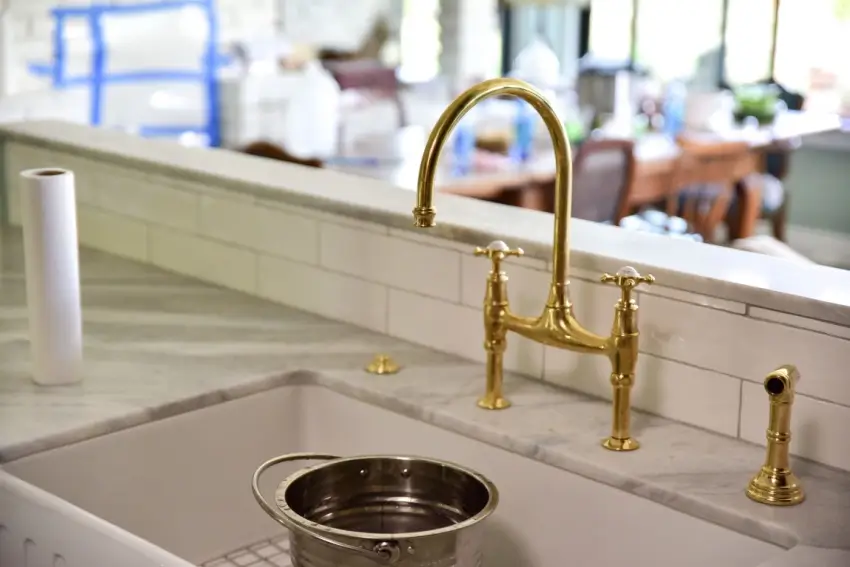
Fixtures: From kitchen faucets and showerheads to light fixtures and fireplace surrounds, brass adds a classy touch.
-
Decor: Brass vases, sculptures, picture frames, and fireplace tools add a warm metallic accent to your décor.
Why Keep Brass Shiny?
Keeping brass clean isn’t just about looks:
-
Preserves the Finish: Tarnish—a dull, sometimes greenish film—can hide brass’s natural shine and lead to corrosion if neglected. Regular cleaning removes tarnish and protects the metal.
-
Maintains Antibacterial Properties: Brass naturally resists some bacteria, so keeping it clean can reduce germs on frequently touched surfaces.
-
Enhances Ambiance: Polished brass reflects light beautifully, adding warmth and luxury to any space.
Solid Brass vs. Brass-Plated: Why It Matters
Knowing the difference guides your cleaning approach:
Solid Brass:
-
Made entirely from a copper-zinc alloy with a consistent golden hue.
-
Heavier, more durable, and more resistant to wear.
-
Can handle stronger cleaning methods.
Brass-Plated:
-
Thin brass layer over a base metal like steel or iron.
-
Lighter in color, more prone to chipping or wearing away.
-
Needs gentler cleaning to avoid damage.
How to Tell:
-
Magnet Test: Solid brass is not magnetic. If a magnet sticks, it’s likely plated over a ferrous metal.
-
Scratch Test (Use Carefully!): Gently scratch a hidden spot—if the exposed metal is golden, it’s solid brass; a different color suggests plating.
Assessing Tarnish Levels
Your cleaning method depends on tarnish severity:
-
Light Tarnish: Slight dulling or patchy discoloration; usually cleaned with gentle polishes or DIY remedies.
-
Moderate Tarnish: Noticeable darkening or greenish cast; may need a stronger polish and more effort.
-
Heavy Tarnish: Dark, thick layers with possible pitting; requires aggressive cleaning or professional help.
Note: Sometimes what looks like tarnish might be lacquer or coating, which requires special care.
DIY Brass Cleaning Solutions
Try these simple, natural recipes to restore shine:
1. Flour and Vinegar Paste (for light to moderate tarnish):
-
Mix ½ cup white vinegar and 1 tsp salt until salt dissolves.
-
Stir in 1 tsp flour to form a thick paste.
-
Apply with a soft cloth in circular motions. Let sit 10-15 minutes.
-
Rinse with warm water, dry thoroughly, and buff with a microfiber cloth.
Tips: Use white vinegar for streak-free results and keep the brass dry before buffing.
2. Lemon and Salt Method (slightly abrasive):
-
Cut a lemon in half and dip the cut side in salt.
-
Rub the lemon over tarnished areas gently.
-
Rinse, dry, and buff as above.
Note: Lemon juice can leave streaks; rinse frequently or dilute lemon juice with water for gentler cleaning.
3. Lemon and Baking Soda Alternative:
-
Mix 1 tbsp baking soda with ¼ cup lemon juice to form a paste.
-
Clean as with the lemon and salt method.
Always test any method on a hidden area first to avoid discoloration.
What About Ketchup?
Though sometimes recommended, ketchup isn’t ideal for brass cleaning. Its acidity can remove tarnish but may also etch or dull the brass with extended use.
The Best Way to Clean Brass
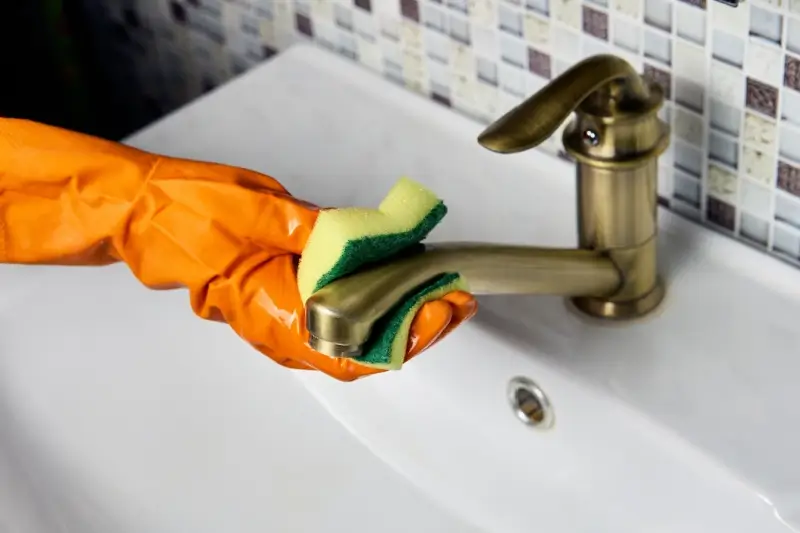
Before jumping into specific brass cleaning techniques, keep these general tips in mind—they apply to all your brass items:
-
Test First: Always try any cleaning solution on a small, hidden area to check for discoloration or adverse effects before treating the entire piece.
-
Clean in Sections: For larger items, work on one area at a time to prevent cleaners from drying before you can buff.
-
Go Gentle: Unless tackling heavy tarnish, use a soft touch with a non-abrasive cloth. Avoid harsh scrubbing that can damage brass.
-
Rinse Thoroughly: Residue left behind can dull the finish and attract dust. Rinse with clean water and dry completely.
-
Buff for Shine: Finish with a dry microfiber cloth to bring out a brilliant gleam.
Caring for Delicate Brass
Antique or intricately detailed brass requires extra care:
-
Avoid harsh abrasives like steel wool or strong cleaners. Choose gentle homemade pastes or polishes designed for delicate surfaces.
-
Use a soft-bristled toothbrush to clean crevices and detailed designs.
-
For valuable or irreplaceable pieces, consider consulting a professional conservator.
Commercial Brass Cleaners: Pros and Cons
Pros:
-
Specifically formulated to remove tarnish and restore shine.
-
Available in a variety of formulas tailored to different brass types and tarnish levels.
-
Convenient and often easy to use.
Cons:
-
Some contain harsh chemicals that can damage delicate brass or leave strong odors.
-
You may need to try several products to find the best fit for your item.
-
Generally more expensive than DIY alternatives.
Natural vs. Chemical Cleaners
| Aspect | Natural Cleaners | Chemical Cleaners |
|---|---|---|
| Effectiveness | Great for light to moderate tarnish; requires more effort. | Effective on heavy tarnish; less manual work. |
| Environmental Impact | Eco-friendly, biodegradable ingredients. | Can contain harsh chemicals harmful to the environment. |
| Safety | Gentler on skin and lungs; less risk of irritation. | May have strong fumes; gloves and ventilation recommended. |
What Causes Brass Tarnish?
Brass tarnish is a natural chemical reaction primarily caused by copper, a main component of brass:
-
Copper Reacts: When exposed to air and moisture, copper forms copper oxide and copper sulfide, creating the dull greenish-brown tarnish layer.
-
Environmental Factors:
-
Humidity accelerates oxidation, speeding tarnish buildup.
-
Pollutants like sulfur dioxide also increase tarnishing, especially on frequently touched items like doorknobs.
-
Preventing Tarnish
While tarnish is inevitable, you can slow it down:
-
Store Properly: Keep brass in a cool, dry place with low humidity, ideally in airtight containers or display cabinets.
-
Polish Regularly: Clean your brass every few weeks or months to remove tarnish and create a protective layer.
-
Apply Lacquer: A clear lacquer coating can protect brass from the environment but may slightly alter its appearance and often requires professional application.
-
Minimize Handling: Oils from hands speed tarnish—use clean gloves when handling delicate or valuable pieces.
Establish a Cleaning Routine
Regular maintenance keeps your brass looking great:
-
Prevents buildup: Early cleaning stops tarnish before it becomes hard to remove.
-
Maintains shine: Keeps your brass from looking dull and worn.
-
Saves effort: Light, frequent cleaning is easier than heavy scrubbing later.
A quick wipe every few weeks beats tackling heavy tarnish down the line.